
So, you are going into the backcountry and you want to photograph your hike so you can show all your friends how amazing your trip was. What gear do you need, in addition to your DSLR, and how can you protect it while still leaving it easy to get to? I have put together a list of 3 tips to help you plan your next trip.
1. Pack only what you will need - your back will thank you!
When packing your gear, it is important to think about how far you will have to carry it and be honest with yourself about what you can comfortably carry. If you pack too much, you may feel obligated to use everything you brought - even if using it makes taking your pictures less enjoyable and leaves your images looking forced. You also probably won't hike as far as you had planned or it may take longer to get there, because the extra weight is forcing you take more breaks.
If your pack doesn't have a specialized compartment for your camera, invest in a camera insert to protect your gear. Inserts are padded bags with partitions that you can insert into any bag to protect and organize your gear. They come in many sizes - some are even specially designed to be used with a backpack.
“Be honest with yourself about
what you can carry.”
2. Plan the images you want to capture.
Planning or prioritizing the photos you want to capture will make it easier to decide what you really need to pack.
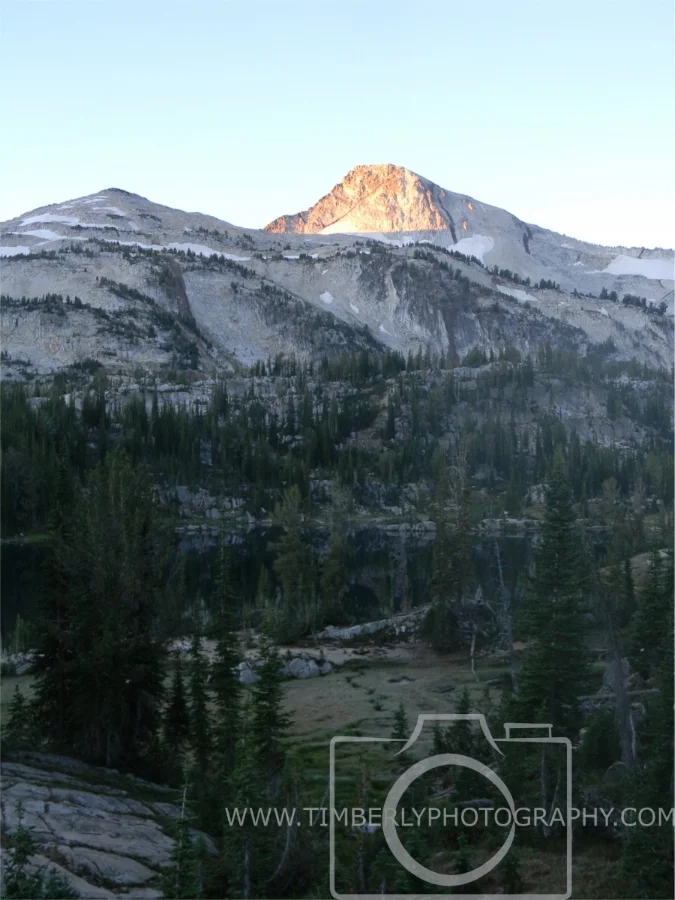
Do you want to photograph some great landscape imagery with waterfalls and rivers? Then you may want to bring a lightweight tripod (make sure to weigh it down to prevent falls or vibrations) and a neutral density filter for long exposures.
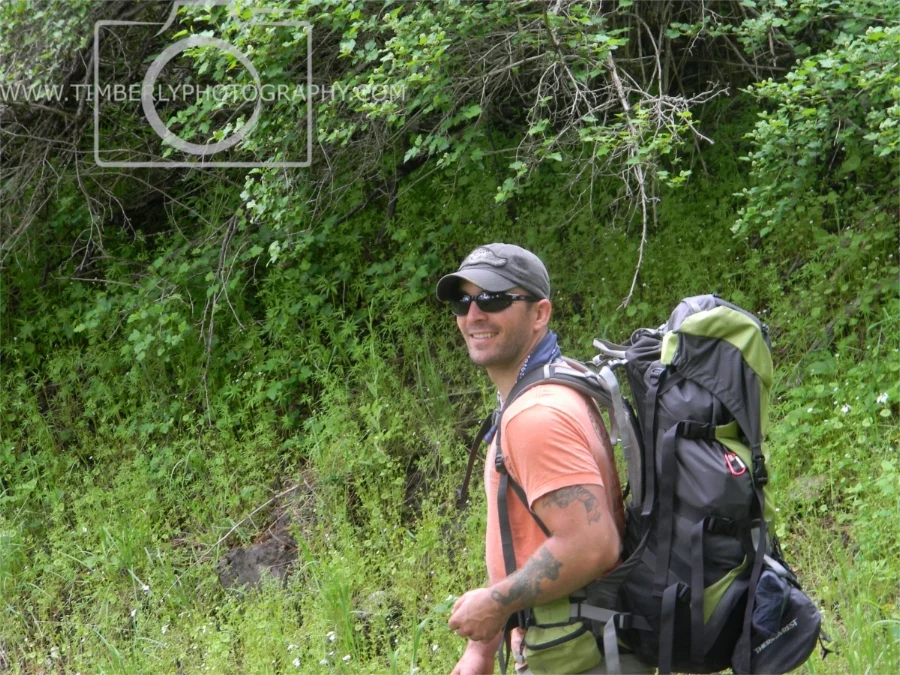
Maybe it is more important to have the ability to quickly capture candid pictures of your group on the trail. In this case, you may want to invest in a good camera strap. I hate having a lot of straps and buckles attached to me, so I use a strap from Black Rapid that that is designed to connect directly to my backpack.
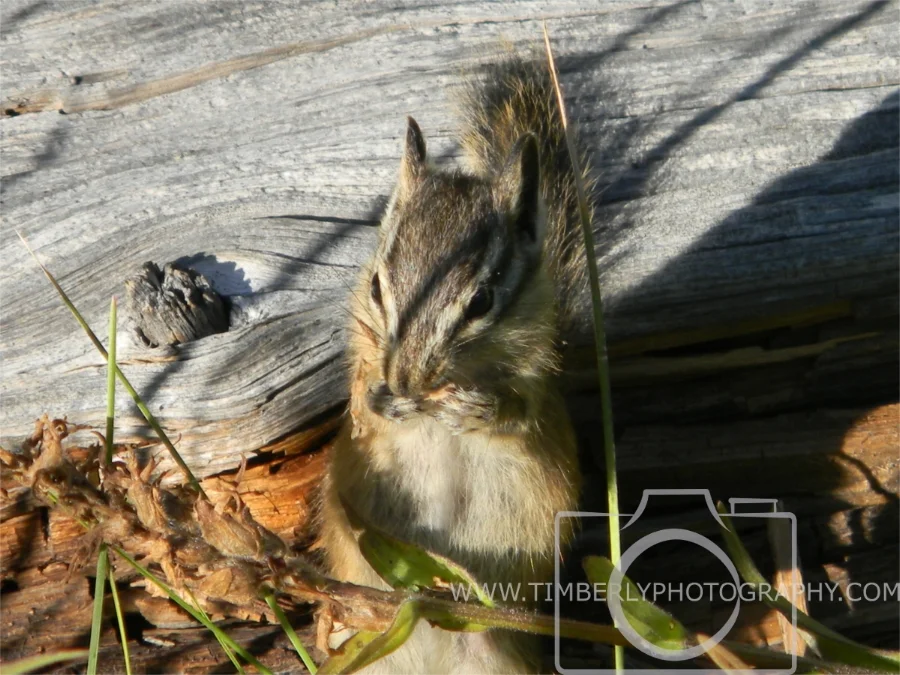
If you are looking to get some awesome wildlife photos, you will want to bring some specialized gear and make sure your companions are aware that you may want to remain quietly in an area for long periods of time. Wildlife photography can be enjoyable, but it a specialized field that won't be addressed in depth here. Digital Photography Gear has a great post specifically addressing wildlife photography. At a minimum, you will need a tripod, with a telephoto zoom or prime lens. These lenses can be very expensive and heavy, so you should really consider what the goals of your trip are before you rent or buy gear. Using what you already have combined with some patience, you can get some great shots of smaller and more bold animals around camp and on the trail.
“Know how to use your gear before you get in the field”
No matter what type of photography you plan to focus on while you are in the field, it is important to know how to use all of your equipment before you get 5 miles on your hike. There is nothing more frustrating than trying to learn how to set up a new tripod or locate the buttons on a new camera body, while racing against the setting sun to capture that amazing sunset over the lake. Practice in your backyard or local park to learn which settings on your camera are best for different outdoor lighting situations.
3. Check the weather forecast, then plan for the worst.
Unlike the Postal Service, most camera gear is not designed to be used in rain, sleet, or snow. You probably don't plan on hiking or backpacking in these conditions either, but conditions in the backcountry can change very quickly and without warning. Make sure you know what weather conditions your equipment is capable of performing under and what the manufacturer means when using terms such as "weather resistant" and "weatherproof".
If the weather is going to be cold or it might rain, you can take steps to protect your gear and still get great photos. Cold weather can decrease your battery life, so keeping your batteries in a warm pocket when not in use and carrying spare batteries is a good idea. You should also let your camera acclimate slowly when going from one temperature extreme to another. For example, before moving your camera from your warm vehicle to the cold outdoors, put it in a plastic bag and let it acclimate for 20-30 minutes while you unpack the rest of your hiking or backpacking gear. This will prevent your lens from fogging and excess moisture in the air will condense on the plastic bag - not your expensive camera. Cold weather can also make plastic more fragile, so using extra padding in your camera bag or insert can be the key to protecting your camera and lenses.
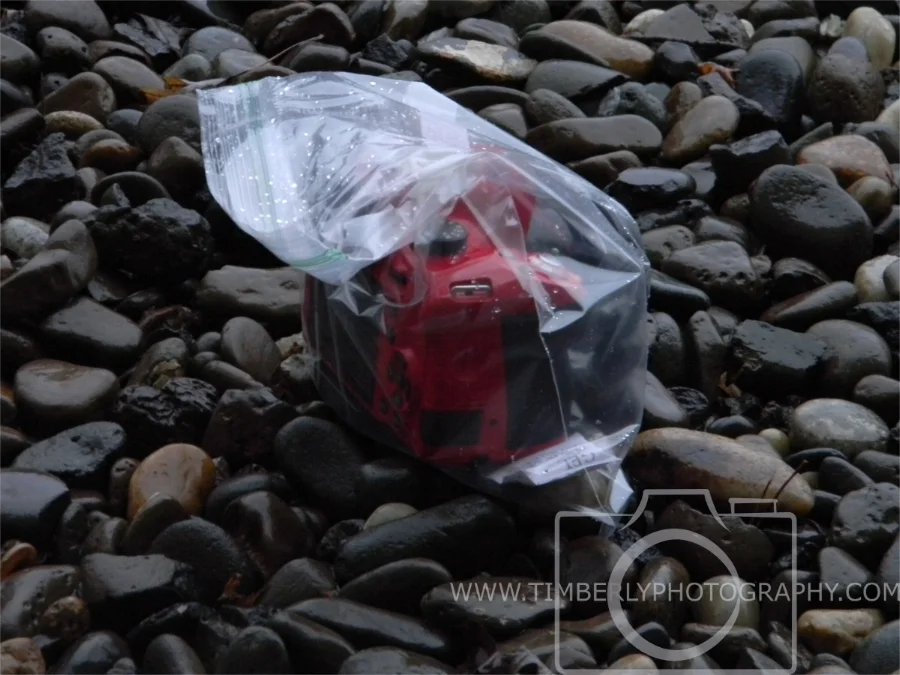

Investing in a good rain sleeve or using a camera system that is weatherproof can allow you to take photos even while it is raining. Although, I would still not use a "weatherproof" DSLR in a downpour - even if this guy says it is fine - without using some sort of rain sleeve or photographing from the cover of an umbrella.
When letting my camera acclimate or using a rain sleeve, I also like to put a desiccant pack in with my camera to absorb moisture. These are the same packs that you see with some of your purchases, such as, shoes, in some food items, or with some electronic gear. Instead of throwing them away, I put them in a plastic baggy for later use. Desiccant packs are also available for purchase online. I also keep a couple of these in my camera bag to absorb any errant moisture. Never put your camera equipment in rice. Not only is it not effective, dust and broken grains can get into your lens or camera body and cause damage.
Using these 3 simple guidelines can make your next foray into the great outdoors an enjoyable photographic adventure. Do you have any tips or questions? Join the discussion in the comments below!